
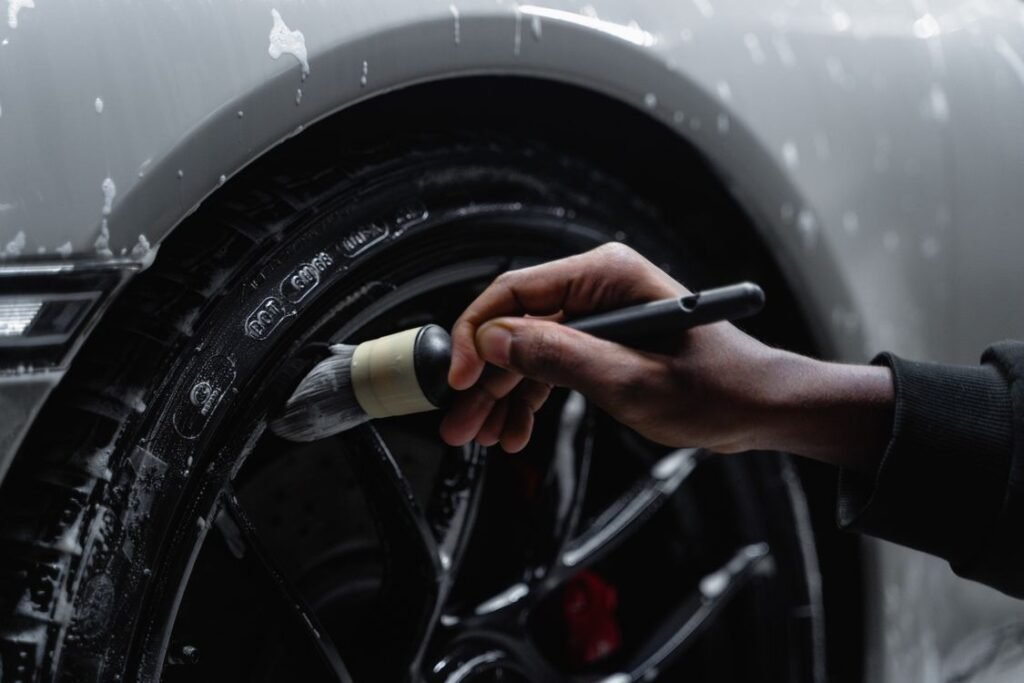
Most car washes fail in the same place, not on the paint, but on the order. People start on the roof, drag brake dust and grit across the panels with a dirty mitt, and then wonder why the paint looks dull after a few months. A safer routine fixes this by starting where the car is dirtiest, and by treating washing as a process, not as a race to get the car wet.
This guide follows a simple wheels first routine. It is the same process first approach used by SAI CHE Detail Co., a Canadian car detailing products brand built around clear steps: wheels, decon, wash, dry, then protect. You do not need their products to follow the routine, but the order matters more than any single bottle you buy.
Why wheels first actually protects your paint
Wheels and tires are usually the dirtiest part of a vehicle. Brake dust, road grime and tire browning collect there, and a wash mitt that has touched a wheel barrel will carry that grit straight onto your paint. Cleaning wheels first, with separate tools, keeps that contamination away from the panels.
Use a dedicated wheel brush and a separate mitt or sponge for wheels only. Never use the same mitt for wheels and paint in the same wash. Rinse the wheel tools thoroughly before you put them away, so the next wash does not start dirty.
Step 1: Wheels and tires, before anything else
Start with a cool wheel, not a hot one after a long drive. Spray a wheel and tire cleaner, let it dwell for the time the product label states, then agitate the face, the spokes and the barrel with a soft wheel brush. Use a tire brush for the sidewall, where browning builds up.
For heavy brake dust, an iron remover is the next step in a wheels first kit, because it helps loosen embedded contamination that a normal wash cannot lift. Rinse fully before you move on. If you skip this rinse, you will carry wheel grime onto the paint in the next step.
Check your tires while you are there. Look at pressure, tread depth and any cuts or bulges. A wash is a good time to catch a problem early, and you can read our guide on how to check tire pressure if you are not sure what your car needs.
Step 2: Decon, the step most home washes skip
Decon means removing hidden contamination from the paint before you touch it with a mitt. Tar, iron particles and road film sit on the surface even after a rinse, and dragging them across the paint is how fine scratches appear.
Work panel by panel, keep the surface wet, and do not scrub dry paint. If you feel roughness after washing, that is a sign decon was needed, not a sign you need to press harder. For a beginner, a simple decon step is safer than jumping straight to polishing or correction.
Step 3: Wash top down, with lubrication and clean tools
Use a pH balanced car shampoo, a quality wash mitt and clean microfiber towels. Wash from the roof down, so dirt flows away from clean panels, not onto them. Rinse the mitt often, and use a two bucket method if you can, one for wash water and one for rinsing.
Work in shade where possible. Hot panels dry shampoo fast and leave spots, and direct sun makes it harder to see whether you have rinsed fully. Short, controlled passes beat long, hard scrubbing every time.
Step 4: Dry with care, not with an old towel
Drying is where many washes undo their good work. A rough towel, or a towel dropped on the ground, will mark paint. Use plush microfiber drying towels, pat or glide lightly, and use a drying aid if your product range includes one, because it reduces friction.
Dry door jambs, mirrors and badges last, because water hides there and drips out later. A quick final wipe after a short drive, or after the car has sat for a few minutes, catches those drips before they dry into spots.
Step 5: Protect, so the next wash is easier
Protection is not only about gloss. A protected surface sheds dirt better, so the next wash needs less scrubbing. That is the real benefit for a daily driver, not just the shine on day one.
Choose protection that fits your routine. A simple spray protection is enough for many drivers. A coating is a bigger commitment and needs proper preparation, including the decon and wash steps above. Do not coat over dirty paint, because you will lock contamination in, not out.
Interior: reset, do not just spray and wipe
A full routine does not stop at the exterior. For the interior, work top down as well: dust the dash and vents first, clean glass, then clean trim, plastics and seats. Use a cleaner made for the surface you are touching, because an all purpose cleaner on every surface is how screens and leatherette get damaged.
Keep a separate set of microfiber towels for interior work. Towels used on wheels or exterior trim should never go inside the car.
Which kit should a beginner start with
If you are new to detailing, start simple. A starter wash kit with shampoo, a wash mitt, microfiber towels and a basic wheel cleaner covers the core routine above. Add interior care next, then wheel specific tools, then protection, in that order.
A full ritual kit makes sense only when you already wash regularly and want one guided setup for decon, wash, wheels, interior, drying and protection together. Buying everything at once, without a routine, usually means half the bottles sit unused.
For a beginner, the decision is simple: start with wheels first, wash with control, dry with care, then protect. Repeat that routine, and only add products when a specific step in your routine needs help.
Common mistakes to avoid
- Washing wheels and paint with the same mitt, which drags brake dust onto the paint.
- Skipping decon, then blaming the shampoo when the paint still feels rough.
- Washing in direct sun on hot panels, which dries product before it can be rinsed.
- Drying with a rough or dropped towel, which marks the finish you just cleaned.
- Buying a coating before you have a safe wash routine, which locks dirt in rather than keeping it out.
Frequently asked questions
Should I clean wheels before washing the paint?
Yes. Wheels and tires are usually the dirtiest areas, so cleaning them first keeps brake dust and heavy grime away from your wash mitt and paintwork.
What is decon in car detailing?
Decon is the removal of hidden contamination, such as tar and iron particles, from the paint before you wash with a mitt. It helps prevent fine scratches during washing.
Do I need a full detailing kit as a beginner?
No. Start with a basic wash setup: shampoo, a wash mitt, microfiber towels and a wheel cleaner. Add interior care, wheel tools and protection only as your routine grows.
How often should I wash a daily driver?
That depends on weather, road conditions and where you park, but a regular wash every one to two weeks, with wheels first and protection in place, keeps dirt from building up and makes each wash easier.
Related reading on MotorVento: how to check tire pressure, wheel balancing charges, and why brakes squeak can help you check the wheel and brake area while you are already working there.